When building in Minecraft, it is common that you will need to do some terraforming and landscaping to the natural environment. This could be as simple as flattening land prior to building a simple house or more complicated like building a lake or mountain.
This guide will help you with tips on how to do landscaping and terraforming in Minecraft more effectively.
How to Flatten Land in Minecraft
When playing on survival mode without mods, you will have to flatten the landscape manually. This can seem like a lot of work, but can be sped up dramatically with higher quality tools (like netherite shovels), efficiency enchanted shovels, and beacons.
Using better tools is more obvious, but a lot of players forget about beacon buffs! When activating the haste II buff on a beacon in combination with efficiency tool enchants, you can break most blocks near-instantly (including stone).
Lastly, the easiest way to flatten land in Minecraft will always be to use Minecraft commands (in conjunction with mods like “WorldEdit”) or creative mode. When using WorldEdit, you can select a cubic area to completely clear out instantly and with creative mode you can break any block instantly without tools.
How to Terraform Hills in Minecraft
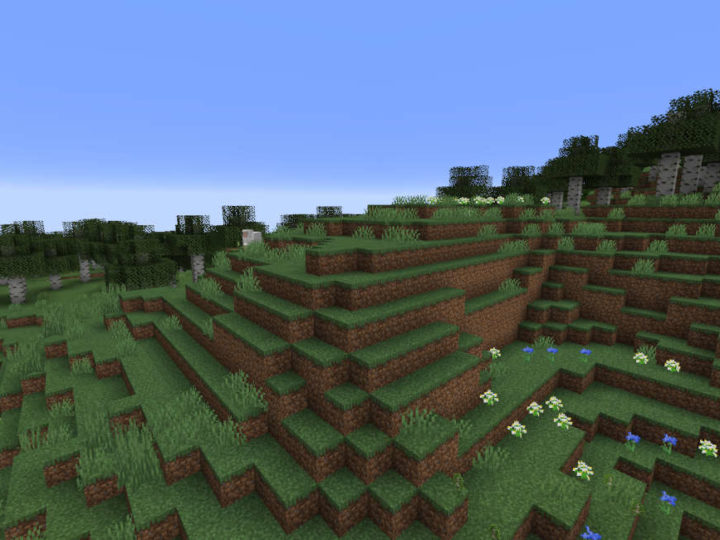
To terraform an existing hill in Minecraft to make it look more pretty, you should smooth out each layer of the hill one by one. Natural world generation tends to create very jagged and random hills, whereas in real-life, hills tend to be smoother due to many years of natural shaping from the environment. Try to make long, sweeping lines and circles to remove this jaggedness from hills.
If you’re looking to landscape a brand new hill or expand upon a hill to make it taller, you should follow similar logic. Build the hill layer by layer starting from the bottom and gradually work your way up to the desired height. For a steeper hill, leave less room between each layer.
The video below does a really good job explaining how to do hill terraforming in Minecraft.
How to Terraform Lakes, Ponds, and Rivers in Minecraft
Creating a new body of water in the world can be challenging, especially if you don’t want it to look artificial. Often water landscaping is necessary when you are adding a garden to your base. You should follow similar logic as building a hill, but in this case you’re digging down the area instead of building it up.

In the photo above, you can see the steps needed to build a pond in Minecraft. The pond is gradually deeper towards the middle and uses sand, clay, stone, and gravel to give the area a more naturally generated appearance.
Here is some additional guidance on how big to build your terraformed body of water:
- Ponds: Shallow water (around 1-3 blocks deep) and not too wide.
- Lakes: Slightly deeper water (1-3 blocks deep at the shore and much deeper in the middle). Larger in size than a pond and may take on different shapes like an oval or crescent.
- Rivers: Deep, long, and narrow. Typically 1-2 blocks deep at the shore and quickly getting deeper towards the middle.
When filling your dug out area with water, start with filling the entire bottom with water. Once the bottom layer is done, repeat for each layer until you’re at the top of your pond. You may find it helpful to build some temporary dirt blocks to place the water against.
As a decoration, it can be a good idea to construct a bridge to cross your new pond!

